Canva is a popular online design tool that allows users to create various unique designs with ease. With plentiful design elements and customization options, Canva makes it easy for users to create everything. Adding music to your designs can be a powerful way to enhance the impact of your content. So, do you know how to add Apple Music to Canva? If not, you can keep reading this article and get the complete tutorial to achieve it on your computers and mobile phones.
Part 1. What Types of Music Files Are Supported in Canva
Not all music files are supported by Canva. Canva supports MP3, M4A, WEBM, OGG, and WAV file formats for music files. If your music file is in a different format, you are unable to upload it to Canva.
Part 2. How to Convert Apple Music to Canva-Supported Formats
It’s worth noting that Apple Music files are in the protected M4P format because of the Digital Rights Management (DRM) technology. It means you will need to convert Apple Music to one of the supported formats before uploading it to Canva and AudKit Apple Music Converter is the best choice for you.
AudKit Apple Music Converter enables you to convert Apple Music to common audio formats, supported by Canva such as MP3, M4A, AAC, FLAC, etc. with high audio quality at a speed of up to 30X. Additionally, you can not only customize Apple Music tracks based on your preference but also edit ID3 tags. In short, with it, you are able to add and set Apple Music as background music for any video or slideshows in Canva.

Main Features of AudKit Apple Music Converter
- Easily adjust Apple Music parameters like audio channel, sample rate, etc.
- Preserve ID3 tags and the quality of Apple Music for an unlimited experience
- Support various output formats like AAC, FLAC, WAV, MP3, and M4A
- Download your Apple Music offline at a high speed of 30X rate
Here are the steps to guide you convert Apple Music to common audio tracks compatible with Canva.
Step 1. Download and open AudKit Apple Music Converter.
You can convert Apple Music with a trial version. But please note that you can convert only the first 1/3 content for each file.
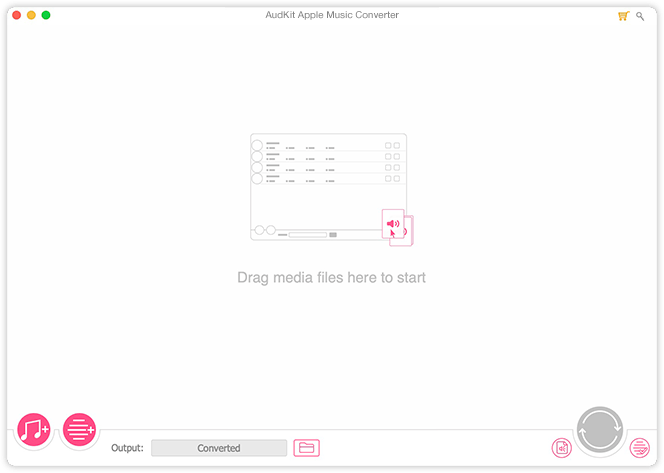
Step 2. Add audio to AudKit Apple Music Converter from Apple Music.
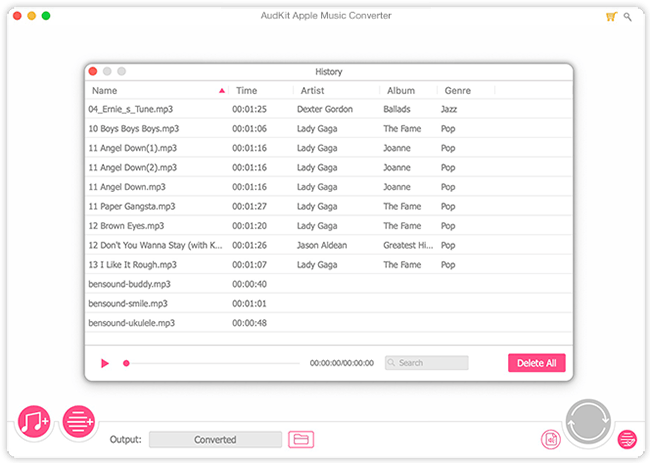
Apple Music or iTunes will be launched once you open AudKit Apple Music Converter. You can click the first button in the bottom left corner to add music from your iTunes library. Also, you can just simply drag and drop Apple Music to AudKit Apple Music Converter. You can also choose to click the second button to add audio tracks from your local files.
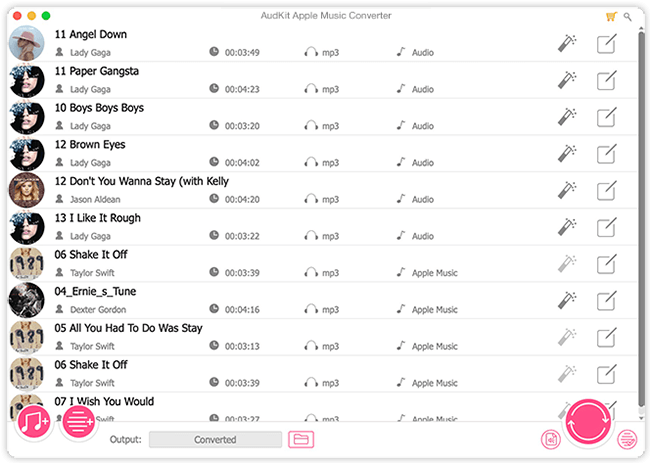
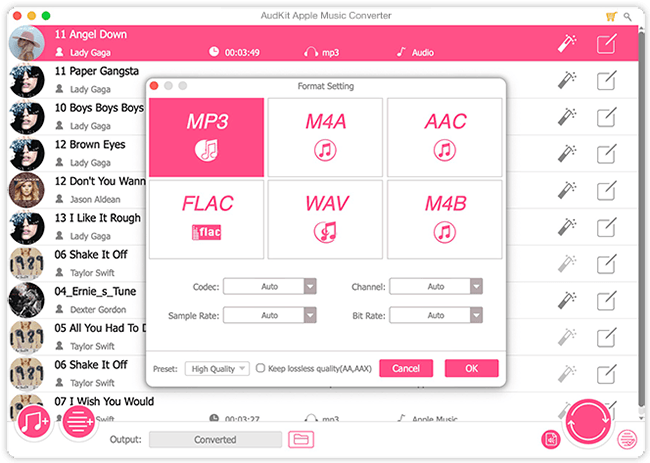
Step 3. Customize Apple Music for Canva.
Click the format button in the bottom right-hand corner to select the output format supported by Canva such as MP3, M4A, or WAV, and customize the sound quality you need. After confirmation, click “OK”.
Step 4. Start to convert for adding to Canva.
Click the convert button in the bottom-right corner to convert your Apple Music. The tracks will be automatically downloaded to your local files when the process is done.
Part 3. How to Add Music to Canva from Apple Music
After converting to Canva-supported files, you can put your audio in Canva from Apple Music now. Below is a guide to uploading Apple Music for Canva presentations or Canva videos as background music.
How to Add Apple Music to Canva on a Desktop
Step 1. Open Canva on your device.
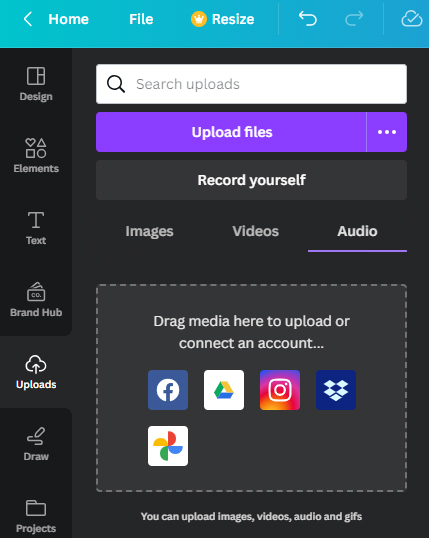
Step 2. Drag and drop the converted music files to Canva.
Step 3. Or click “Uploads” on the side menu then click “Upload files”.
Step 4. Select your converted Apple Music files to add to Canva.
How to Add Music to Canva From Apple Music on Mobile Device
Step 1. Connect your iPhone or Android device to your computer using iTunes or a USB cable and transfer the converted Apple Music to them.
Step 2. Open Canva to import converted Apple Music.
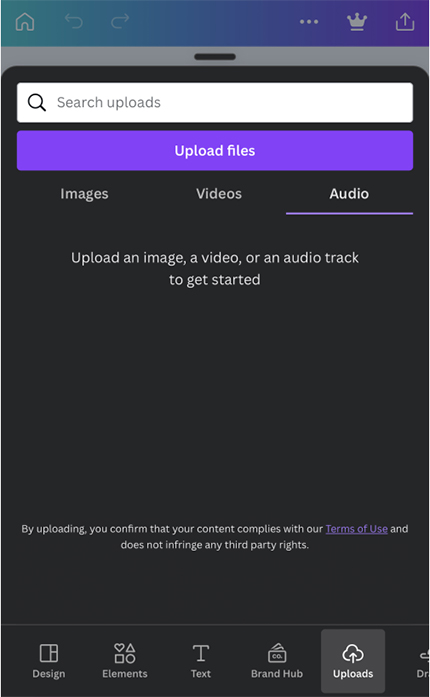
Step 3. Click on “+” on the bottom left side.
Step 4. Tap on “Upload files” > “Audio” and select the files you need.
Part 4. How to Customize Apple Music Tracks in Canva
To make your designs more unique and memorable, you can customize audio tracks on your video in Canva. Here’s how to customize Apple Music tracks in Canva.
Step 1. After adding the audio track to Canva, click on the “Volume” icon in the top toolbar to adjust the volume of the music by moving the slider left or right.
Step 2. Click on the “Audio effects” button in the top toolbar to add audio effects to your track, such as fade in or fade out.
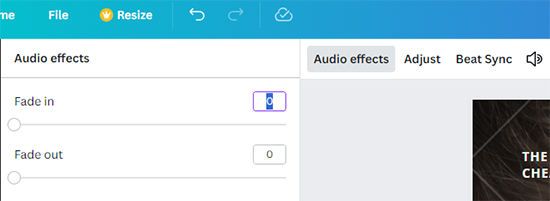
Step 3. Click on “Adjust” and drag the colored section of the audio clip to the appropriate part to adjust the audio track.
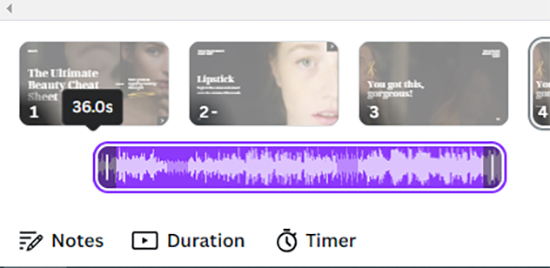
Step 4. Preview your video to ensure that the music is playing at the desired volume and with any added effects.
Step 5. Save and export your video with the customized Apple Music.
Part 5. FAQs about Adding Apple Music to Canva
Q1. Can I add multiple song tracks to a single project in Canva?
A: Yes. You can add multiple song tracks to a Single Canva project. To add other song tracks, you need to upload them first, then simply drag and drop them onto the project.
Q2. Is there a way to preview the music before adding it to my Canva project?
A: Yes. After uploading music tracks to Canva, you can hover over the music track you are interested in and click the play icon to preview it. This way, you can make sure that the music fits well with your project before adding it.
Q3. Can I clip audio tracks in Canva?
A: Yes. You just need to select the portion of the audio clip you want to use and move the slider to the desired position on the sound bar to clip the audio tracks.
Part 6. In Conclusion
To add music on Canva from Apple Music, a music converter is required. We recommend you AudKit Apple Music Converter, which can help you convert Apple Music to plain files and add Apple Music to Canva on computers and mobile devices without any trouble. Hope this article has answered your questions and helped you resolve any issues you were experiencing.

