



Quick Answer: How to Play Tidal on VLC
- The Challenge: Tidal uses proprietary encryption, meaning you cannot directly link your account, paste a track URL, or drag cached offline files into VLC Media Player.
- The Best Tool: To bypass these playback restrictions, the most reliable method is using AudKit Tidal Music Converter to download your playlists locally.
- Optimal Format: Export your Tidal tracks as FLAC via AudKit to maintain the lossless, high-fidelity audio quality that audiophiles expect.
- Seamless Playback: Once the batch conversion is complete, simply drag and drop the unprotected local files into VLC, or use VLC’s “Media > Open Folder” feature to build your ultimate offline library.
If you are an audiophile, you probably love Tidal for its uncompromising commitment to high-fidelity sound. And if you are a tech enthusiast, you likely swear by VLC Media Player for its lightweight architecture, cross-platform compatibility, and incredibly robust audio equalizer. Naturally, you would want to combine the two.
However, if you have ever tried to drag a downloaded Tidal track into VLC, or attempted to stream a Tidal URL through VLC’s network protocol, you have already hit a frustrating brick wall.
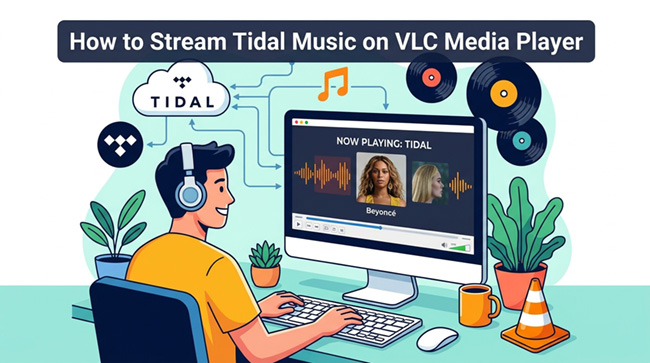
Don’t worry—you are not doing anything wrong. In this guide, we are going to break down exactly why this playback restriction exists and, more importantly, how you can seamlessly stream your favorite Tidal playlists on VLC Media Player using the best tool for the job.
- Part 1. Why You Cannot Play Tidal Directly on VLC
- Part 2. The Best Solution to Download Tidal Music: AudKit Tidal Music Converter🔥
- Part 3. Advanced Tips: Optimizing VLC for High-Fidelity Audio
- Part 4. FAQs About How to Play Tidal on VLC Player
Part 1. Why You Cannot Play Tidal Directly on VLC
To understand the solution, we first need to understand the roadblock.
When you download music for offline listening within the official Tidal app, you are not actually downloading standard audio files like MP3s or WAVs. Instead, Tidal saves these tracks as fragmented, encrypted cache files. This proprietary encryption ensures that the music can only be decoded and played back through the official Tidal application.
VLC Media Player is an open-source powerhouse that can read almost any codec on the planet, but it does not have the decryption keys required to read Tidal’s restricted cache files. Furthermore, Tidal does not provide an open API for VLC to stream directly from its servers.
To bridge this gap, we need to extract the audio from Tidal’s closed ecosystem and translate it into a universal language that VLC understands perfectly: standard local audio files.
Part 2. The Best Solution to Download Tidal Music: AudKit Tidal Music Converter
To get your music into VLC, you will need the help of a specialized third-party tool. While there are basic audio recorders out there, they often result in massive quality loss and force you to record in real-time.
For a seamless, high-fidelity experience, the best method is utilizing AudKit Tidal Music Converter.
AudKit is a dedicated desktop application designed to securely access your Tidal account, parse the audio stream, and save it to your local hard drive in universal formats like FLAC, MP3, WAV, or AAC.
Instead of just recording the audio over your soundcard, AudKit acts as a true converter. It offers lightning-fast batch conversion (up to 5X speed), preserves 100% of the lossless quality (or standard 320kbps for compressed formats), and meticulously retains all the ID3 tags—meaning your metadata like album art, artist name, track number, and genre will perfectly transfer over to VLC.
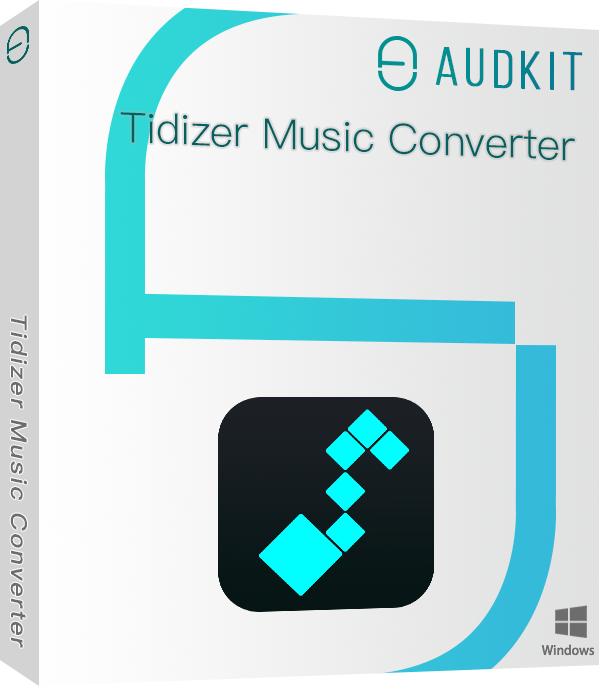
Main Features of AudKit Tidizer Music Converter
- Batch download Tidal playlists on the computer for offline playback
- Help importing Tidal tracks to Denon DJ software for offline use
- Maintain lossless Tidal HiFi quality and ID3 tags information
- Convert Tidal playlists to many formats like FLAC, WAV, AAC, MP3, etc.
Step-by-Step Guide to Downloading and Playing Tidal on VLC
Here is how you can use AudKit to build your offline VLC library.
Step 1: Configure Your Output Settings
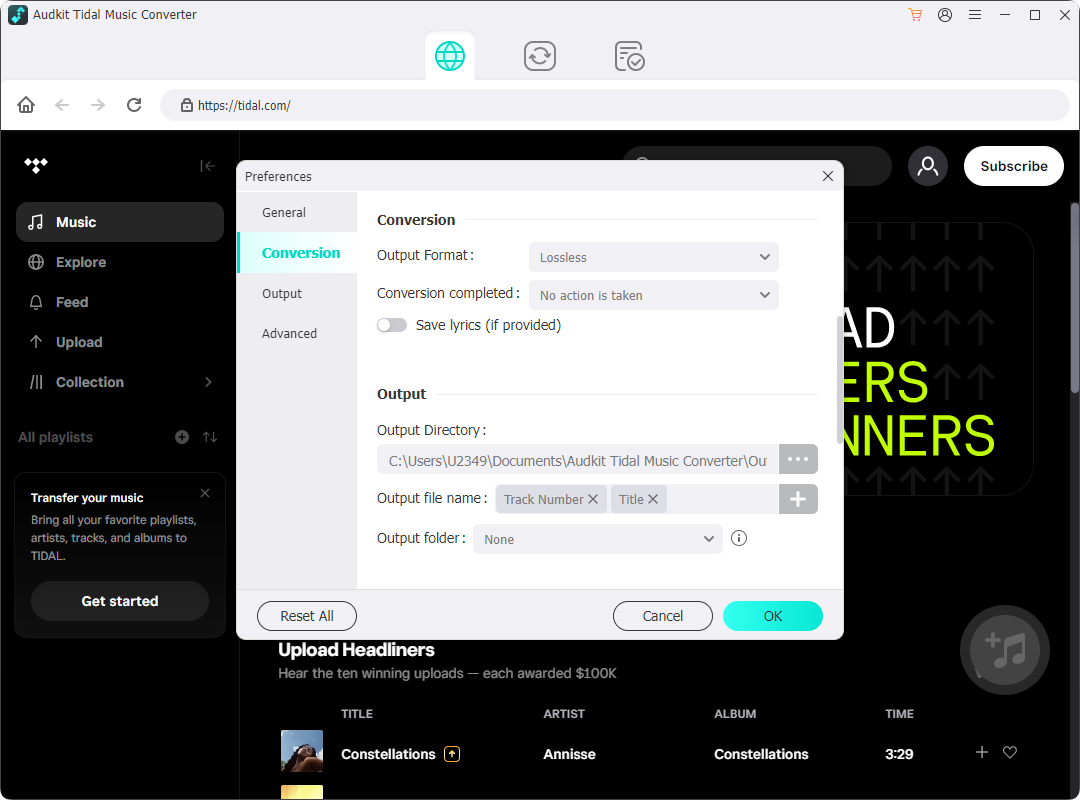
Launch AudKit Tidal Music Converter on your Mac or PC. Before adding any music, navigate to the top menu and open the Preferences window, then click on the Convert tab. Since you are using Tidal, audio quality is likely your top priority.
- Select FLAC or WAV as your output format to retain uncompressed, CD-quality, or Hi-Res audio.
- Set the Sample Rate and Bit Depth to match your Tidal subscription tier (e.g., 16-bit/44.1kHz or 24-bit/96kHz).
- If storage space is a concern, select MP3 and ensure the bit rate is maxed out at 320kbps.
Step 2: Import Your Tidal Playlists
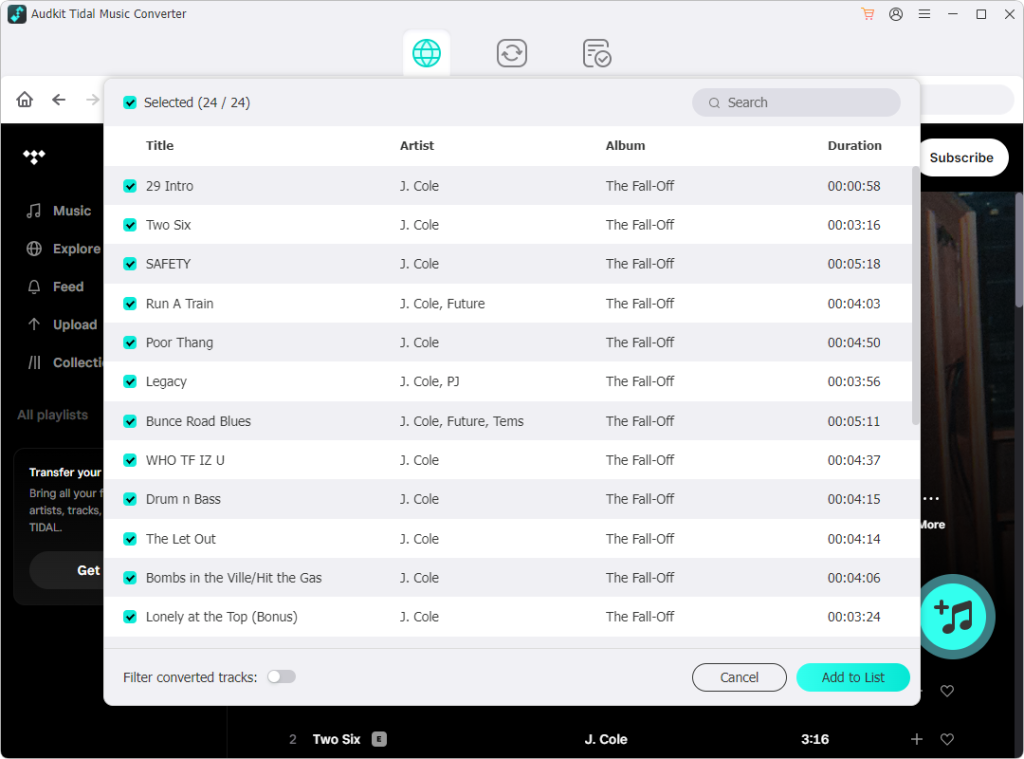
AudKit makes it incredibly easy to grab your tracks. You can either use the built-in Tidal web player or work alongside the Tidal desktop app. Simply find the playlist, album, or track you want to play on VLC. Copy the share link from Tidal and paste it into AudKit’s top search bar, then click the + (Add) button. AudKit will instantly parse the link and load all the songs into the conversion queue.
Step 3: Initiate the Batch Conversion
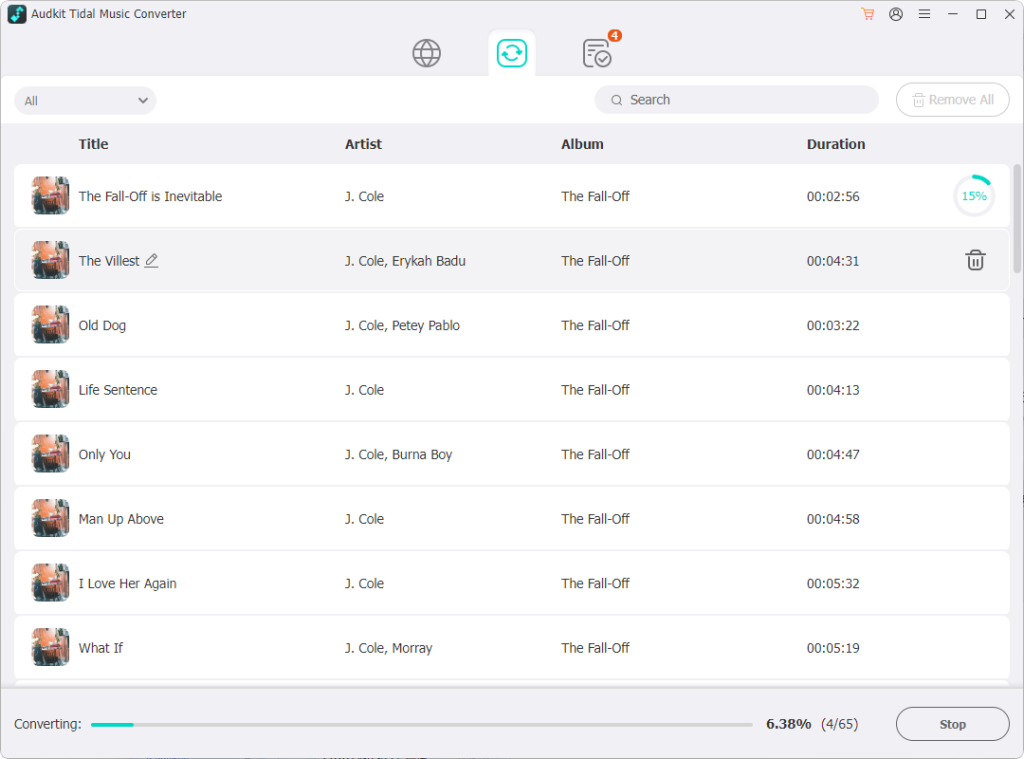
Review the tracks in your list. You can check or uncheck specific songs you do or don’t want. Once you are ready, hit the Convert button in the bottom right corner. AudKit will bypass the proprietary playback restrictions and save the tracks directly to your computer’s local folder. Because it retains metadata, your files will be neatly organized into folders by Artist and Album automatically.
Step 4: Import and Stream on VLC Media Player
Now that your Tidal music is freed from its encrypted shell and sitting on your hard drive, playing it on VLC is incredibly straightforward:
- Open VLC Media Player.
- Go to the top menu bar and click on Media.
- Select Open Folder… (or press
Ctrl + Fon Windows /Cmd + Fon Mac). - Navigate to the AudKit output folder where your converted Tidal tracks are saved and select it.
- VLC will instantly populate its playlist window and begin playing your high-fidelity Tidal tracks.
Part 3. Advanced Tips: Optimizing VLC for High-Fidelity Audio
Now that you have your lossless FLAC files playing in VLC, let’s make sure you are getting the absolute best audio experience possible. VLC is fantastic out of the box, but a few quick tweaks can turn it into an audiophile’s dream.
1. Bypass the System Mixer (Audio Output Modules)
By default, your operating system (Windows or macOS) routes all audio through a software mixer, which can slightly degrade the sound quality or alter the sample rate. You can force VLC to communicate directly with your audio hardware (like an external USB DAC).
Step 1. Go to Tools > Preferences (or press Ctrl + P).
Step 2. At the bottom left, under Show settings, select All.
Step 3. In the left sidebar, expand Audio and click on Output modules.
Step 4. On Windows, change the Audio output module to Windows Multimedia Device output (DirectX) or WASAPI. On Mac, use CoreAudio.
2. Utilize the 10-Band Equalizer
Tidal’s native app has very limited EQ settings. VLC, however, features a powerful built-in equalizer to tailor the sound to your specific headphones or speakers.
Step 1. Press Ctrl + E (or Cmd + E on Mac) to open the Adjustments and Effects menu.
Step 2. Check the Enable box under the Equalizer tab.
Step 3. You can manually adjust the sliders to boost the sub-bass or enhance the vocal clarity, or choose from excellent presets like Headphones, Classic, or Live.
3. Disable Audio Time-Stretching
VLC has a feature that maintains the pitch of audio when you speed up or slow down playback. While great for listening to podcasts or audiobooks, this real-time digital processing can occasionally introduce micro-artifacts in high-res music.
Step 1. Go to Tools > Preferences > Audio.
Step 2. Uncheck the box that says Enable time-stretching audio.
Step 3. Click Save and restart VLC.
Part 4. FAQs About How to Play Tidal on VLC Player
Can I stream Tidal on VLC via a network URL?
No. While VLC has an excellent “Open Network Stream” feature that works perfectly for internet radio and unencrypted HTTP streams, it cannot process Tidal URLs. Tidal requires account authentication and uses proprietary encryption that VLC cannot decode. Local file conversion via a tool like AudKit is the only reliable workaround.
Will I lose my playlist metadata when converting Tidal music?
Not if you use AudKit Tidal Music Converter. This software utilizes advanced ID3 tag identification technology. This means your exported FLAC or MP3 files will retain all crucial metadata, including the album artwork, artist name, track number, and release year. When you load these files into VLC, your playlist will display beautifully.
What is the best audio format for playing Tidal on VLC?
If you are subscribed to Tidal’s higher-tier plans, you should absolutely export your tracks in FLAC format. FLAC is a lossless format, meaning it compresses the file size without stripping away any audio data, ensuring you get the exact studio-quality sound Tidal provides. VLC handles FLAC files natively and flawlessly without needing extra plugins.
Conclusion
Streaming Tidal music on VLC Media Player requires a bit of an initial workaround, but the payoff is well worth the effort. Because of format limitations and proprietary encryption, direct playback isn’t possible. However, by leveraging AudKit Tidal Music Converter, you can easily batch-convert your favorite playlists into lossless local files while keeping all your metadata perfectly intact.
Once your tracks are liberated into standard FLAC or MP3 formats, VLC becomes the ultimate playback hub. With VLC’s advanced audio output settings configured and your hardware optimized, you finally get the best of both worlds: Tidal’s pristine audio quality and VLC’s unmatched playback flexibility.

Andrew Rowley
 Staff Editor
Andrew Rowley has over 10 years of writing experience and is good at writing in audio technology and audio converter software. He can provide high-quality articles to help streaming music lovers explore music better.