

Using Tidal while going for a walk feels so blissful. Especially because it contains over 70 million songs and soundtracks. However, subscribing to Tidal can be a little hard to afford for those who are trying to save every little penny that they have. The problem is, as soon as you unsubscribe from Tidal, you will no longer have access to all your favorite songs. And, that is a large problem because there is no other way to access songs that are exclusive to Tidal.
So the question is, how do you keep Tidal music after canceling subscription forever? Since Tidal doesn’t allow you to freely download any song of your choosing, it is quite a problem. In addition, you are not even allowed to download songs on PC using Tidal. That is why we have written this guide to tell you everything about the one-stop solution to keep Tidal music forever before canceling your Tidal subscription.
Part 1. Keep Tidal Music After Subscription Expires Forever: Needed Tool
The strategy we are going to be using to keep Tidal music after the subscription expires is to first download all your favorite songs and soundtracks onto your PC or Mac. To do that we will use AudKit Tidizer Music converter which is the one-stop solution to quickly download the tracks and convert them into any format. It enables you with the ability to download high fidelity and high-quality music. In addition, you can also find the option to convert the files to MP3, FLAC, Lossless, WAV. It also enables 5x conversion speed and sets original ID3 tags
The best thing about AudKit Tidizer Music Converter is that it has a free-to-use trial mode, and because of that there is no reason to worry as you will not have to risk your money by purchasing software. If you are happy with the software, you may choose to buy it so that you can download hundreds of tracks from Tidal without going through any difficult steps.
Main Features of AudKit Tidizer Music Converter
- 5X Tidal music conversion Speed
- Listen to music on other devices instead of just Tidal
- Organise large playlists with just a few clicks
- Convert Tidal to FLAC, MP3, Lossless, and other formats
Part 2. How to Keep Tidal Music After Canceling Subscription Forever
Step 1 Register for AudKit
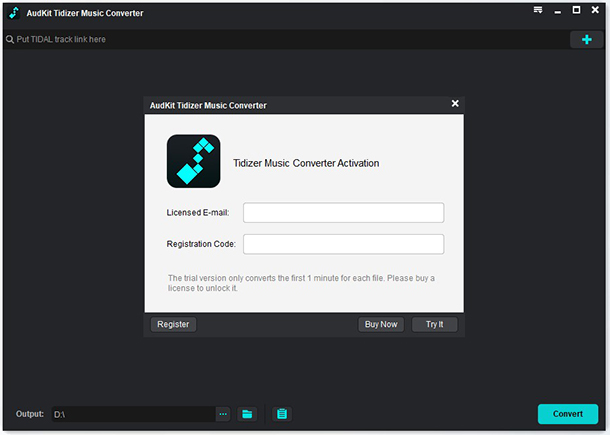
Go to AudKit’s official website and find the download button that corresponds with the operating system you’re on. After that, log in to your Tidal account so that you can find all the music. Next, register your copy of AudKit Tidizer Music Converter.
Step 2 Reset Tidal output attributes
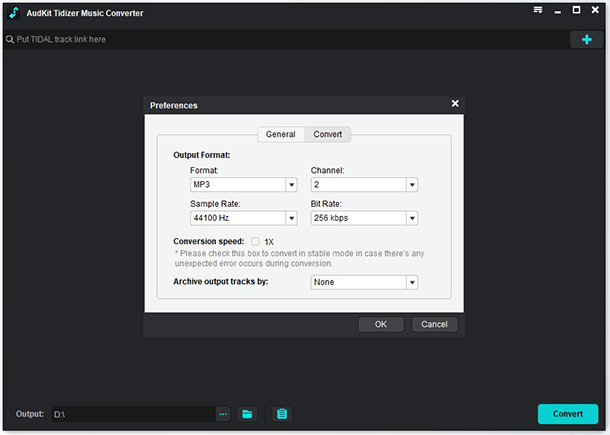
Click on the menu icon available on the top right and select Preferences > Advanced. Now change the output format, channels, sample rate, bit rate, and the archive way as needed.
Step 3 Import Tidal songs to AudKit
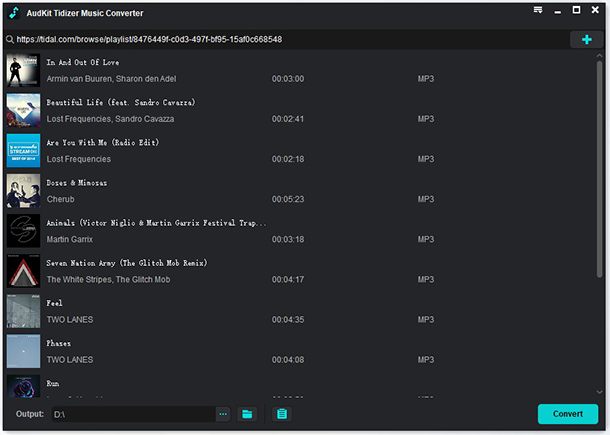
Open the built-in Tidal app so that you can search for your favorite playlist. Look to the lower-right corner to find the shiny ‘Add music’ button. Select it so that the entire playlist gets added or just a few of them.
Step 4 Convert and download Tidal songs forever
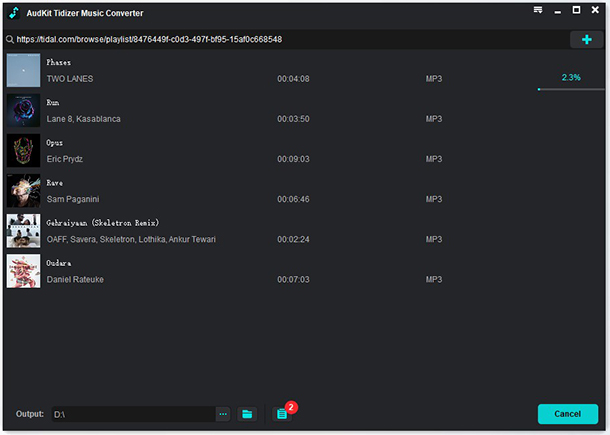
Since you now have a long list of all your favorite tracks, all that is left to do is to hit that ‘Convert’ tab which is available on the bottom right of your screen. Now, AudKit will begin the conversion process. After it is done, you should be able to see a red tooltip pop up on the ‘Converted’ icon. You can view all your songs in that tab. Now, move your cursor over the Tidal music files and click on the search icon that pops up. You will then be redirected to the file’s location on your storage.
Part 3. More Tips: How to Unsubscribe from Tidal
Congrats! You have successfully kept the downloaded Tidal music and soundtracks onto your computer. Now you no longer need to open Tidal to listen to those songs. So, if you are willing to unsubscribe, make sure that you have all the songs that you could ever possibly need. After that, follow these few steps so that you can quickly unsubscribe from Tidal:
Step 1: Open your browser and visit Tidal.com, and log in if you’re not already signed into your Tidal account.
Step 2: Click on the three ellipses which can be found in the sidebar located on the top left hand of the screen. Select manage subscription

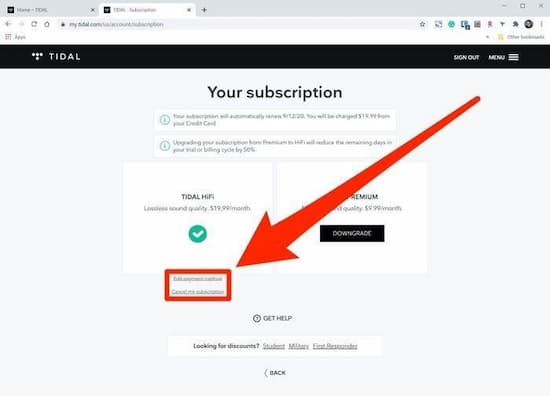
Step 3: Once you have reached the ‘your subscription’ page. Click on ‘cancel my subscription’. This will forever end your subscription with Tidal, so be a little cautious while doing so. We strongly recommend making sure that you have all the songs that you will ever need from Tidal.
Part 4. Conclusion
Congrats! You no longer have to pay a bunch of money to Tidal every month. And, this is all thanks to AudKit Tidizer Music Converter. Now it’s time to give us your thoughts. What do you think is the best feature of AudKit Tidizer Music Converter? Is it the awesome interface? Or is it the fast conversion speed? Leave a comment down below to let us know your thoughts.

Elle Johnson
Elle Johnson has been working in the technology and music software field for over 5 years. She is dedicated to providing easy-to-use guides and effective tips to play music anywhere.