

One of the most loved music streaming platforms in the world is Tidal. This platform offers millions of music lovers access to a high-quality extensive library of playlists, songs, and albums. It is even life-enhancing if you can control Tidal playing automatically. Then, you can think of involving IFTTT Tidal usage in your daily life.
With the help of IFTTT, you can easily control your Tidal account and play your favorite songs automatically whenever you want to. Whether you want your favorite workout playlist to start playing as soon as you step into the gym or you want a soothing playlist as soon as you get home and start to wind down for the night, IFTTT is your go-to tool. It can help you automate your Tidal music experience to fit all parameters of your life.
In this article, we will guide you on how to play songs on Tidal using IFTTT, including setting up IFTTT to play Tidal songs and creating custom applets to streamline your music listening experience.
Part 1. What Is IFTTT?
IFTTT (short for “If This Then That”) is a web-based tool designed to help you automate your life. It lets users create custom programs referred to as applets that can be used to automate a wide range of tasks across different devices and platforms. With IFTTT, you can create applets that trigger actions on one platform based on events that happen on another device or area. Anyone can do this without the need for complex coding skills.
Tidal is not integrated with IFTTT. This makes it tricky if you want to get Tidal IFTTT connect. It’s all good! IFTTT mingles with other applications as well. We will tell you how to download music from Tidal and play it with IFTTT.
Part 2. How to Convert Tidal Songs for Playing with IFTTT
One of the best ways to get all your favorite Tidal content on IFTTT without any hitches is to use the AudKit Tidizer Music Converter to convert and download the songs so that you can play them anywhere. The AudKit tool is a user-friendly music converter that is designed to help you download and convert any song, album, or playlist from Tidal. With this program, you can convert your Tidal tracks to multiple audio formats such as M4A, AAC, WAV, FLAC, and MP3 among many others.
One of the main reasons why people are using the AudKit Tidizer Music Converter to download songs from Tidal is because this program preserves 100% of the high lossless sound quality of Tidal songs. This ensures that you get music sounds that are just as good as the original Tidal tracks. In addition, the AudKit converter also retains all the original ID3 tags of your Tidal music. This makes it easy for you to organize and navigate your music library.
Despite insisting on retaining the high sound quality of your tracks, AudKit Tidizer Music Converter boasts lightning-fast conversion speeds, with a 5X conversion rate. This means that you can convert a large number of playlists and albums in minutes. You can do whatever you want to with downloading Tidal files.
Main Features of AudKit Tidizer Music Converter
- Support various output formats for Tidal, such as FLAC, AAC, MP3
- Maintain original sound quality and metadata of Tidal tracks
- 5X conversion speed for efficient batch conversion without subscriptions
- Download Tidal HiFi and MQA music offline on your PC
How to Download Tidal Music as Local Files
To stream Tidal with the IFTTT app, you can follow the instructions to download your Tidal playlists as local files for preparation.
Step 1 Download AudKit Tidal Music Converter
Search “AudKit Tidizer Music Converter” in your browser then open its official page. Click the “Download” button to download and install the AudKit application on your computer. Open the AudKit app and click the “Register” button from the top menu to get a full experience for it.
Step 2 Adjust Tidal audio output for IFTTT
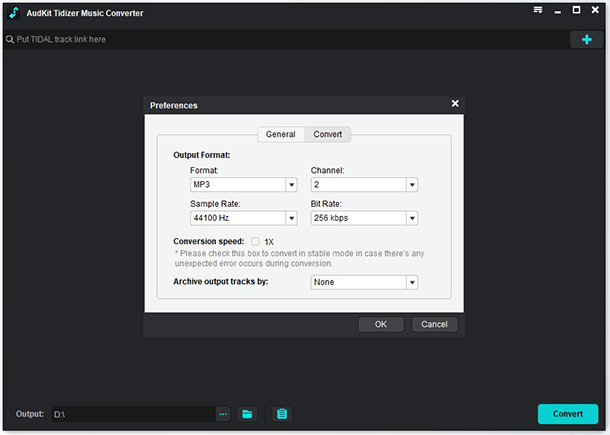
Next, back to the top menu and select the “Preferences” option to start resetting the audio output. In the window, choose “Convert” and then adjust the audio parameters per your needs. You can choose to convert Tidal to MP3, WAV and other preferred output formats, or keep Tidal high quality by defining the sample rate, bit rate and more. When you’ve done all these settings, click “OK“.
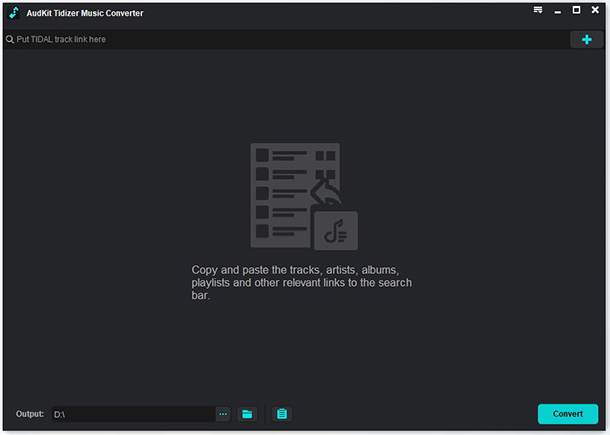
Step 3 Put Tidal music into the AudKit program
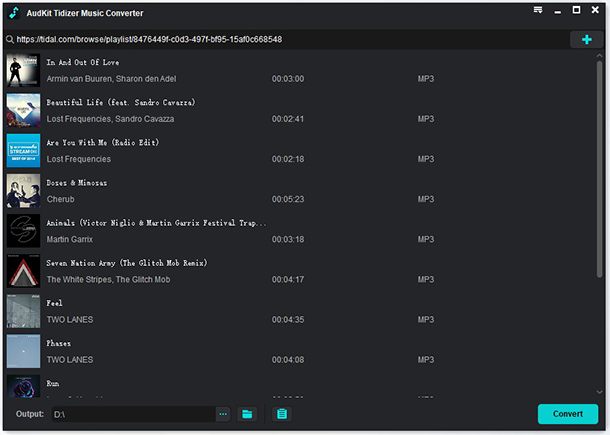
Choose the Tidal songs or playlist from the Tidal app and then right-click on it and click “Share“. Select “Copy Track Link” to copy the link, paste it into the AudKit tool, and click the “+” button to add all your selected tracks.
Step 4 Get Tidal downloaded offline
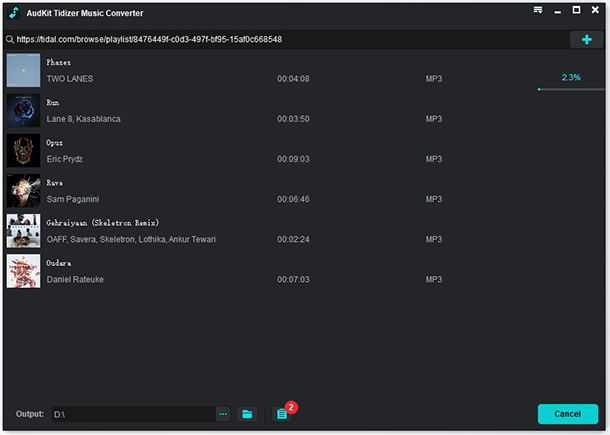
Click the “Convert” button at the bottom. This will trigger the AudKit Tidizer Music Converter to convert your Tidal songs and playlists to the selected output format and save them to your computer. Once the conversion is finished, you can find all the downloaded files on the local drive and then play them via IFTTT automation.
Part 3. How to Play Tidal Music Using IFTTT
The IFTTT is not a music player, it only automates an existing player or music storage device. This means that to ply your downloaded Tidal songs, you will need to upload them on a cloud drive such as Dropbox first for easy automation. To know how to use IFTTT with Tidal, follow these steps:
Upload Tidal Songs to the Cloud
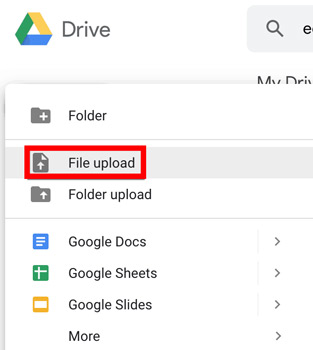
Step 1: Open your preferred cloud drive service (Google Drive, Dropbox, or OneDrive). Once in, create a new folder where you will upload and store your converted Tidal songs.
Step 2: Find the songs you downloaded using AudKit Tidizer Music Converter on your computer, then drag and drop them into the new folder you just created. Allow a few minutes for your files to upload to the cloud drive. The uploading process may take some time depending on your internet speed and file size.
Step 3: Once done, simply go to your phone and open the cloud drive, sign your account, and locate the folder containing the songs.
Use IFTTT Applets to Play the Songs
Step 1: Go to the App Store if you have an iPhone or to Google Play Store for Android phones and download the IFTTT app onto your phone and install it.
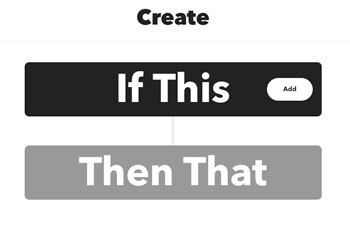
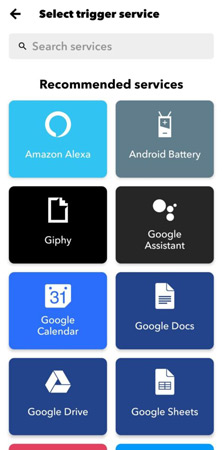
Step 2: Launch the IFTTT app, then create a new applet by clicking the “+” icon. In the window that will open, click the “If This” button and search for Google Assistant as your voice command trigger.
Step 3: Follow the onscreen prompts to connect your chosen trigger service to IFTTT and set up the voice command. For example, if you saved the song in a file named Tidal music you can have a phrase like “Play my Tidal music” as your voice command.
Step 4: Click the “Then That” button and search for the Cloud drive you just uploaded your songs to. Now follow the onscreen prompts to connect the cloud drive to IFTTT and set up the playback action. Make sure that you select the folder with your songs when setting up the playback action. Once done, save your applet and then test it to see if it works.

Part 4. Conclusion
IFTTT is an awesome platform that makes it easy to automate your Tidal music. Even though the Tidal music app isn’t included in IFTTT, you still have the idea to make IFTTT Tidal work. If you want to create unique playlists that mix Tidal songs with some that you sourced from elsewhere, then you will have to use the AudKit Tidal Music Converter to download your favorite songs and playlists from Tidal. After using it, you can upload these Tidal files to a cloud drive and use IFTTT applets to connect and play Tidal music through a variety of devices and platforms.

Andrew Rowley
Andrew Rowley has over 10 years of writing experience and is good at writing in audio technology and audio converter software. He can provide high-quality articles to help streaming music lovers explore music better.